“`html
How to Set Up a Home Security Camera System
In today’s world, ensuring the safety of your home has become more critical than ever. One efficient way to enhance security is by setting up a home security camera system. This guide will walk you through the ease of installing a security camera system, provide a comprehensive step-by-step installation guide, and help you understand what factors to consider before installation. Additionally, we will offer tips on how to maintain your system effectively. By the end of this guide, you’ll be equipped with the knowledge to secure your home with confidence.
How Easy Is It To Install A Security Camera System?
Installing a home security camera system may seem daunting, but it has become increasingly manageable due to advancements in technology. Many modern systems are designed with user-friendliness in mind, often requiring minimal technical expertise. With the right tools and guidance, you can set up a robust security system without needing professional help.
However, the complexity can vary depending on the type of system you choose. Wireless systems are generally easier to install compared to wired systems, which may require more technical know-how, especially for running cables and setting up network connections. Nevertheless, by following a structured guide and taking careful steps, you can achieve a smooth installation process.
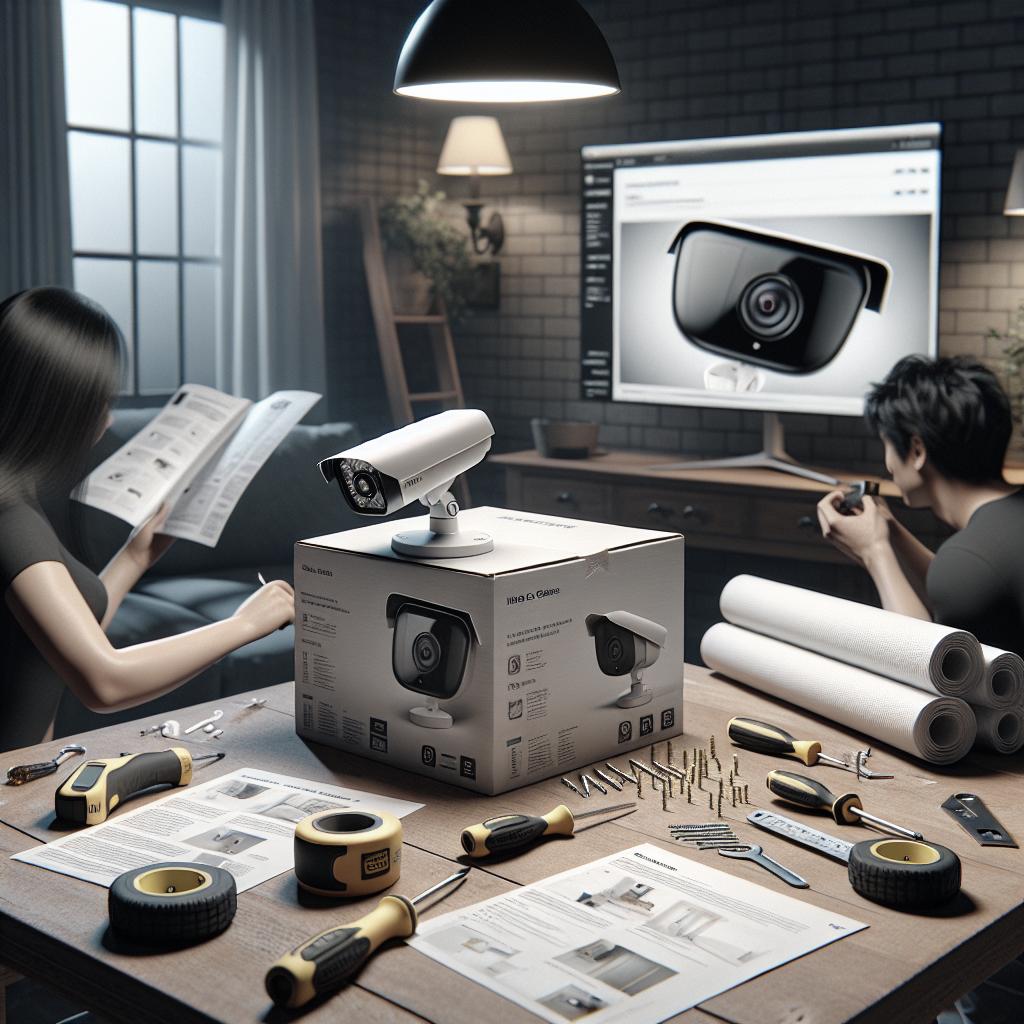
Step By Step Guide To Installing A Security Camera System
1. Choose The Right Location For Your Cameras
The first step in setting up your security camera system is selecting optimal locations for your cameras. Look for areas that provide a good field of view and cover vulnerable spots like entry points, driveways, and blind corners. Ideally, cameras should be high enough to prevent tampering but positioned to capture clear footage.
Avoid placing cameras in direct sunlight or areas exposed to harsh weather unless they’re specifically designed for outdoor use. For indoor cameras, consider high-traffic areas such as living rooms, hallways, and staircases. Remember, strategic placement increases the effectiveness of your surveillance system.
2. Drill Holes And Run Wires
Once you’ve decided on camera locations, the next step involves drilling holes for mounting brackets and running wires if you are setting up a wired system. Ensure you have the proper drill bit size for the anchors you’ll be using to secure the cameras.
Running wires through walls or ceilings can be tricky. Use wire fish tapes or coat hangers to guide wires into place. Take care not to damage the wires, especially if you’re working with thin cables. Additionally, follow safety protocols, such as shutting off power when working near electrical outlets.
3. Connect The Cameras To The Power Source
After placing the cameras and running wires, the next step is connecting them to a power source. For wired cameras, plug them into nearby electrical outlets or use a power over Ethernet (PoE) switch if compatible. Ensure all connections are secure, and check if the cameras power on correctly.
Wireless cameras often come with rechargeable batteries or solar options, alleviating the need to run numerous cables. However, it’s essential to ensure a stable power supply, as battery-operated cameras might require more maintenance than wired ones.
4. Connect The Cameras To Your Computer Or TV
To start viewing footage from your cameras, connect them to your computer, TV, or dedicated DVR system. Most modern systems have user-friendly software to facilitate this process, guiding you through network setup and device pairing.
You may need to install specific software or apps provided by the camera manufacturer, allowing you to access live feeds and recorded footage. For systems with remote viewing capabilities, ensure your network settings are configured correctly for secure access from anywhere.
5. View The Footage From Your Surveillance Cameras
After successfully connecting and configuring your cameras, you can now view the live footage. Familiarize yourself with the camera setup’s interface, including features such as zoom, pan, tilt, and record functions where applicable.
Consider setting up notifications or alerts for when the cameras detect unusual activity. Regularly check the system to ensure it’s functioning properly and adjust camera angles if necessary to maintain optimal surveillance.
What To Consider Before Installing A Security Camera System
Before diving into the installation, consider several factors that can influence the effectiveness of your security camera system. Start by evaluating what areas need coverage and whether you require indoor, outdoor, or a combination of both camera types.
Placement of Cameras
Camera placement is crucial in maximizing the utility of your security system. Consider entrances and exits, ground-floor windows, and areas with restricted visibility, which are typical points of concern for property owners. Not only should you cover these areas, but it is equally important to do so without infringing on your neighbors’ privacy.
Be aware of external factors such as lighting, weather, and potential obstructions when determining placement. Testing a few positions before finalizing the install is often beneficial to ensure you capture comprehensive coverage of the intended space.
Tips For Maintaining Your Security Camera System
Maintaining your security camera system is essential to ensure its longevity and effectiveness. Regularly clean your cameras, particularly if they are exposed to outdoor elements like dust, rain, or snow. A clean lens will capture clear footage, enhancing the system’s performance.
Check all connections periodically, especially if you’ve experienced adverse weather conditions that might have disturbed cables or mounts. Keep the system’s software updated to benefit from new features, improvements, and important security patches.
Next Steps
With your security cameras installed and maintained, your home is now better protected against potential threats. Continue to assess your property’s security needs and adjust your system accordingly. Stay informed about new security technologies and consider upgrades as innovations become available, ensuring your security system evolves to meet your requirements.
Join Us
Thank you for reading our guide on setting up a home security camera system. To stay updated on the latest in home security solutions and technology trends, consider subscribing to our newsletter. Join our community for more tips and insights, empowering you to keep your living environment safe and secure.
| Section | Summary |
|---|---|
| How Easy Is It To Install A Security Camera System? | Explains the ease of installing security cameras and the importance of choosing the right system. |
| Step By Step Guide To Installing A Security Camera System | Provides a detailed, step-by-step process for setting up security cameras at home. |
| What To Consider Before Installing A Security Camera System | Highlights key factors, particularly camera placement, to consider before installation. |
| Tips For Maintaining Your Security Camera System | Shares essential maintenance tips to ensure the longevity and effectiveness of the system. |
| Next Steps | Suggests practical steps to keep your home security system updated and effective. |
“`